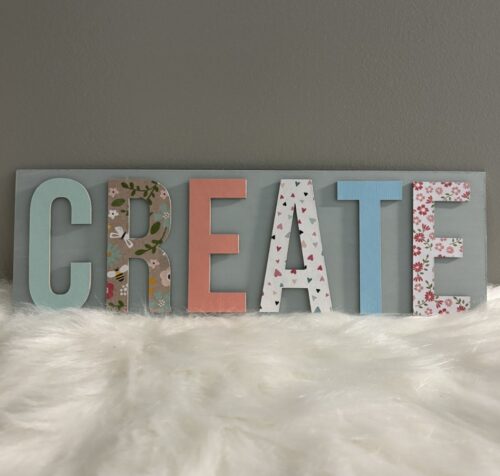
I wanted to create a little sign to add to the shelf on my new peg board, so I used an old Valentine’s Day sign that I had gotten from the Dollar Tree earlier this year.
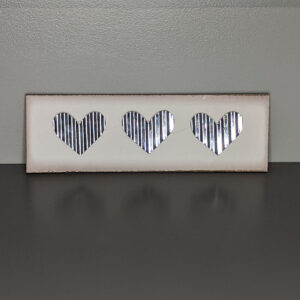
I removed the hearts, and gave it a quick sanding. I then painted it with my Americana Decor chalky finish paint in Vintage. It’s a really pretty, light dusty green color.
I wanted my letters to pop out a little, like chipboard, so I used some cereal boxes which I’ve been collecting for projects like this. I cut down all of the cereal boxes we go through, because they’re so easy to cut with my Cricut to create chipboard letters and embellishments.
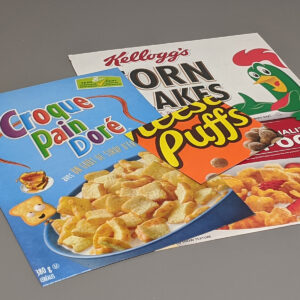
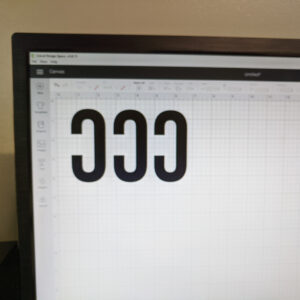
My first tip when cutting out cardboard is to place it picture side up on your mat, so the blade cuts through the cereal box graphic first. I found when I put it logo side down, the blade doesn’t always cut through that piece of paper. If you do this, and want your finished letter to be plain cardboard on top, and not the logo, simply flip your image before you cut it in your program.
 |
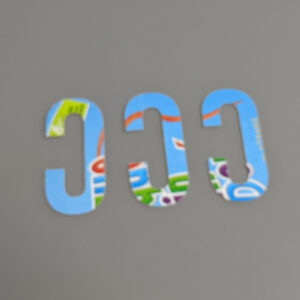 |
I cut out three of each letter to glue together, plus one in my paper of choice. I have the Cricut Maker and it has different options of materials to cut out. Cereal Box is actually one of the options, but I find it doesn’t cut deep enough, so I use the light chipboard option. Once the letters are done cutting, I don’t touch anything, and I push the Cut button again on my Cricut to go around each letter a second time just to make sure everything cuts out all the way through.
Once all my letters were cut out, I mod podged them all together. I gave each one a good press to get out any air bubbles (I rolled over each of mine with a glue stick), and you could also put them under something heavy for a little while to give them some extra pressure and drying time. I didn’t bother with that step, and mine stuck together just fine.
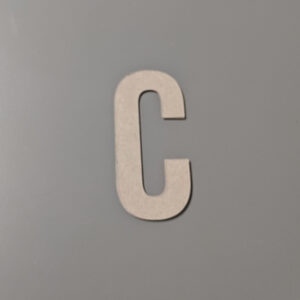
Then, to finish off your chipboard letters, glue on your top scrapbook paper letters, or simply paint each letter. To mount my letters onto my piece of wood, I set them in place first get them where I wanted them, and hot glued each one on.
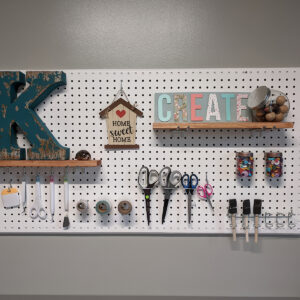
I love how my chipboard letters turned out. They’re thick, durable, and easy to make. It’s a little time consuming with all the cuts, but well worth it. They were perfect for create my Dollar Tree sign makeover!
