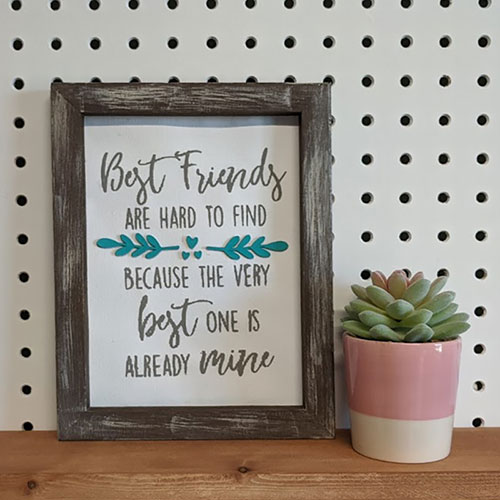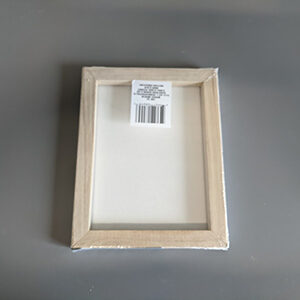
Yesterday I attempted my first reverse canvas. I used a small 5.5″ x 7.5″ canvas that I got from the dollar store, and paired it with my Best Friends Are Hard To Find SVG.

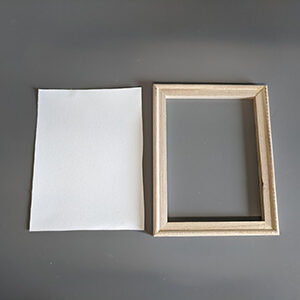
I used a knife to cut my canvas from the wood, and struggled a bit to get the staples out. I used a flathead screwdriver to get underneath them, and quickly realized I need to pick myself up a staple remover the next time I’m at the store. I made sure I cut my canvas small enough that it wouldn’t stick out past the outer edge of my frame, but big enough that I would have enough material to re-attach it.

Next, I painted my frame. I didn’t have any stain on hand, so I used brown paint. It was a little dark, so lightly brushed on a light taupe color, just to give it a bit of a distressed look.

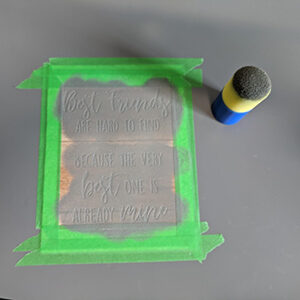
I then cut my quote out in vinyl and attached it to my canvas to paint. I used a cheap sponge brush that I found at a dollar store to dab on my grey paint. (My vinyl was vinyl shelf liner that I picked up at the Dollar Tree, and I used clear shelf liner as my transfer tape.) I knew painting my canvas was going to be a bit risky, because I had a feeling it would run under my vinyl a bit, which it did. Perhaps spray paint would work better, or I’ve seen people use heat transfer vinyl, which looked great! I think I’ll try that next time, I just don’t know if it’ll melt the cheap dollar tree canvas. Once my paint was dry I stapled my canvas onto my frame. Remember that the original back of your canvas will now be your front!
When I cut my graphic, I hid the leaves and hearts, and cut them separately out of cardboard, using my Cricut machine. I cut 3 of each, and stacked them together, to create chipboard die cuts. I painted them a bright blue, and super glued them onto my canvas.
All in all it turned out not too bad. Like I said, next time I wouldn’t paint it, or maybe I’ll try spray paint. Hopefully you’ll give it try, because they turn out pretty cute, and are an inexpensive sign to make!
